
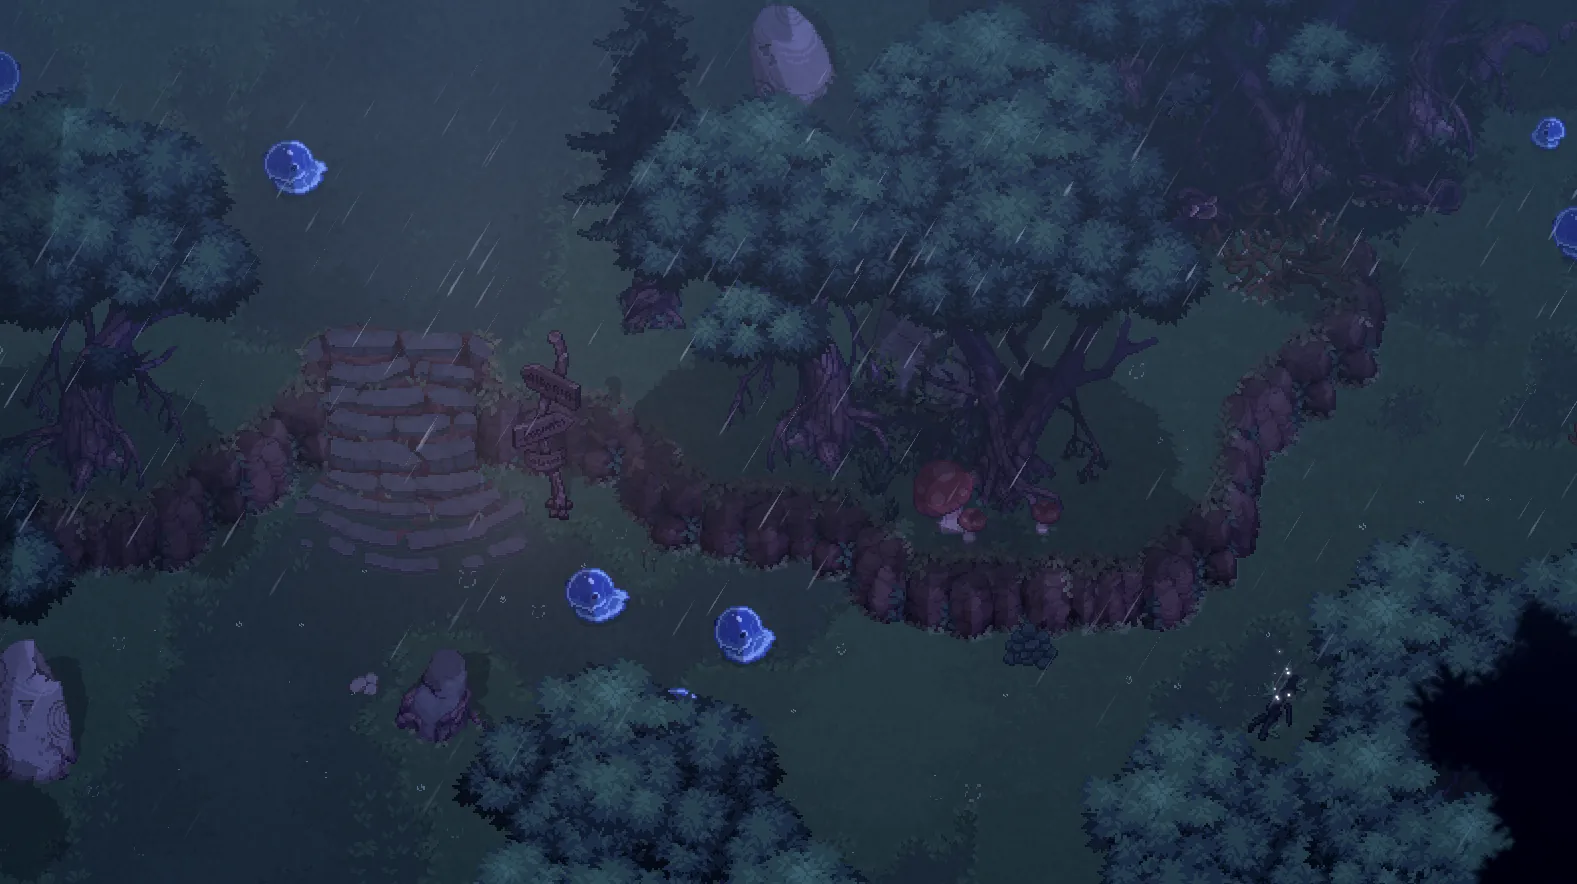
Managing inventory effectively is one of the most critical hurdles for any new adventurer entering the world of Mirkea. If you find yourself constantly tossing away valuable materials because your pack is full, you are likely overlooking the essential dimraeth storage mechanics designed to keep your progression smooth. In this guide, we will break down exactly how to secure your loot, build your own housing infrastructure, and stop the frustration of early-game clutter.
Understanding the Storage Struggle
When you first start your journey in Dimraeth, your initial capacity feels incredibly limited. While the guild hall provides a communal chest, it is quickly outgrown, offering only 18 slots that won't suffice once you start collecting various gear sets. Many players report that the dimraeth storage system feels restrictive at first, but it is actually a core component of the game’s survival-crafting loop.
According to official game information, the world is built around exploration and building, meaning your base is meant to be an evolving extension of your character's capabilities. If you don't prioritize expanding your storage early, you will lose out on the resources necessary for upgrades and alchemy.
Step-by-Step: How to Build Your First Chest
You don't need to wait until the late game to secure your items. The game provides the blueprints for your own containers early on, provided you follow the main questline correctly.
| Step | Action | Requirement |
|---|---|---|
| 1 | Complete the Cavern Quest | Exit the Lost Caverns and meet Fosters |
| 2 | Dismantle Hub Wreckage | Clear the area near the Sanctum Waygate |
| 3 | Build Utility Stations | Construct a Workbench and Alchemy Station |
| 4 | Craft Storage Chests | Use planks and nails in the Furniture tab |
To build your first unit, you must first progress to the point where Fosters asks you to clear the wreckage near your base hub. Once you construct a tent and campfire, the recipe for the workbench and storage chests unlocks. Remember, the chest itself is found under the Furniture tab in your building menu. If you can’t see it, it is likely because you lack the required materials—planks and nails—in your inventory.
Essential Materials for Base Expansion
To sustain your hoarding habits, you need a constant flow of wood and metal. Gathering these raw materials efficiently is the secret to successful dimraeth storage management.
[!TIP] Maximize Resource Gathering Avoid crafting tools immediately. If you follow the main quest through the Farmlands toward the Earlwood Toad Waygate and defeat the local wolf boss, you can often obtain gathering tools like axes and pickaxes for free from NPC trainers like Allaric or Raana.
- Pinewood: Harvested from trees using an axe.
- Stone: Mined from deposits using a pickaxe.
- Nails: Crafted at the workbench using stone.
- Planks: Crafted at the workbench using pinewood.
Pro-Tips for Inventory Organization
Community reports on forums like Steam suggest that players often struggle with finding their items once they build multiple chests. To avoid a mess, adopt a labeling system early. Since the game allows you to rename chests, categorize them by item type to save time during your crafting sessions.
| Chest Category | Recommended Contents |
|---|---|
| Building Materials | Planks, nails, stone, raw wood |
| Consumables | Potions, bandages, food, water |
| Equipment/Gear | Set pieces, weapons, secondary armor |
| Alchemy/Misc | Droop jellies, rare ingredients, herbs |
One of the most significant quality-of-life updates in the early access launch is the "auto-deposit" button. When interacting with a chest, you can now automatically transfer matching items from your inventory into the chest. This works even for equipment sets, making dimraeth storage management significantly faster and less tedious than manually dragging icons.
Why You Should Prioritize Upgrades
Hoarding is essential in Dimraeth because of the depth of the itemization system. Since loot comes with randomized affixes, you will want to keep different sets to experiment with various character builds.
Don't Over-Salvage While the blacksmith is great for getting materials, be careful not to salvage items that belong to a gear set you might want to try later. If you are unsure, move the item to your dimraeth storage chest first. Only salvage common, low-tier items that provide no statistical benefit to your current build.
Common Early Game Mistakes
- Ignoring the Quest Board: Picking up quests in Earlwood provides not just XP, but often the very materials you need to build more storage.
- Forgetting to Use the Workbench: Many players try to craft components in their inventory, but the workbench is essential for turning raw wood into processed materials like planks.
- Neglecting Reputation: As you build relationships with NPCs like the Golem in the garden, you gain access to new items and building options that can make your base more efficient.
Frequently Asked Questions (FAQ)
Q: Can I craft items directly from my storage chests? A: Yes, once you have built your base and placed your storage, you can craft items using the materials held within your chests. This is a massive time-saver compared to the limited storage found in the town’s guild hall.
Q: Why can't I see the storage chest recipe in my menu? A: This is a common point of confusion. The dimraeth storage chest recipe is located under the "Furniture" tab in your build menu. If it isn't appearing, ensure you have first built the workbench and possess the base materials like wood and nails.
Q: Does inventory space increase as I level up? A: No, base inventory capacity is generally static. To expand your holding power, you must utilize the base-building mechanics to craft additional storage chests.
Q: What is the best way to manage gear sets? A: Use the auto-deposit feature! If you place one piece of a set in a chest, the game will automatically recognize and move other matching pieces into that same chest, keeping your inventory clean and your gear organized.